Participant Groups
Participant groups allow you to deliver sessions to multiple groups of people - whether that's different lecture streams, tutorial classes, lab sessions, seminars or conference audiences. By default, you will already have a default group for your Unit however you can add others as needed.
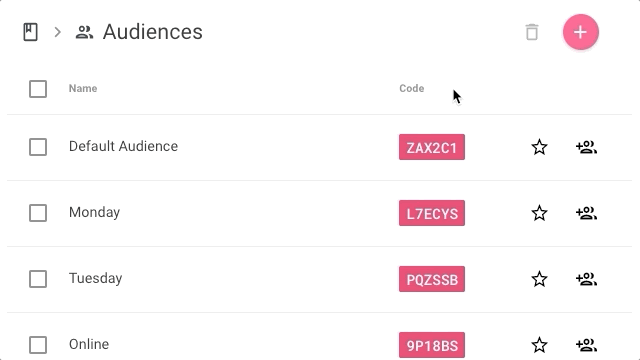
1. To create a participant group
- Click "Participants" from the Unit page.
- Click the pink plus button in the top right.
- Provide a name (e.g. "Monday Students")
2. Add participants
There's a few different ways to add participants to a group.
The easiest way is to allow your participants to join using the join link (e.g. flux.qa/ABC123). You can find this link by starting a session or by clicking the group name on the Participants page.
Finally, if you'd like to manually upload a list of participants:
- Use Excel or Google Sheets to create a file containing columns with email, first name, last name and team names for each of your students. Make sure to save this file as a "CSV file".
- Click the group name you'd like to add participants to.
- Click the pink button in the top right that says "Upload CSV"
- Follow the prompts to upload your CSV.
Participant Access
If you'd like to have more control over who can join a group, you can click the icon to the right of the group name to set "participant access".
Need to get in touch?
If you can't find what you're looking for, just send us an email at info@flux.qa.
Email us